🔧 How to Wire a Digital Voltmeter Ammeter on a Motorbike (Beginner’s Guide)
Wiring up your digital Voltmeter Ammeter
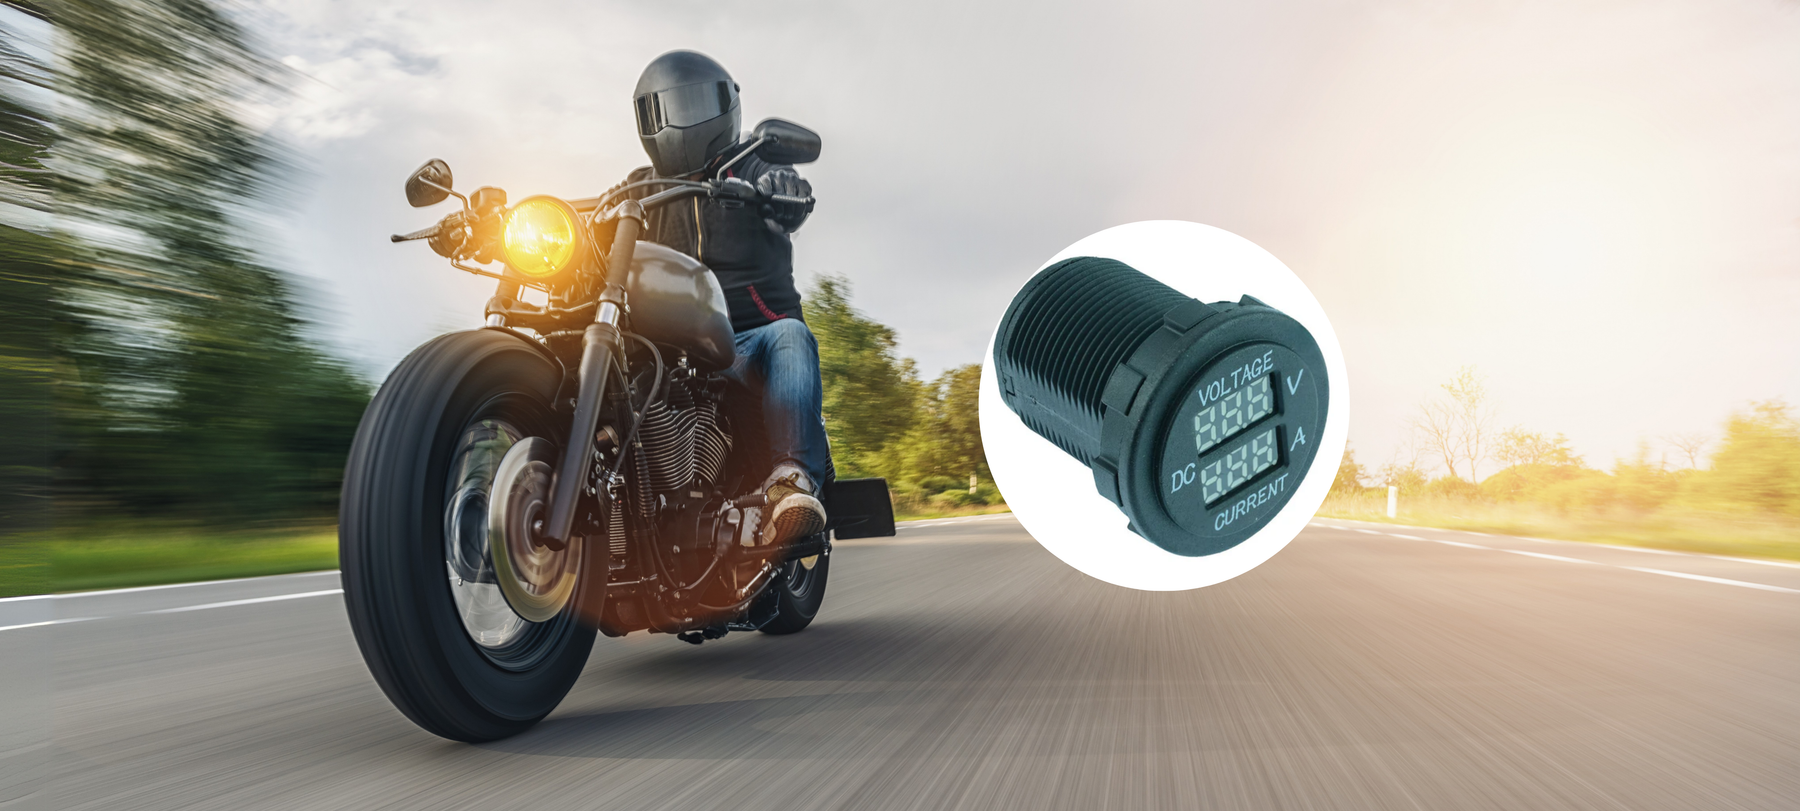
Want to keep an eye on your battery health and power usage? A digital voltmeter/ammeter combo is one of the easiest and most useful upgrades you can add to your motorbike. It tells you exactly what your system voltage is and how much current your accessories are drawing.
This guide will walk you through the wiring step by step.
⚡ What It Does
This small round device gives you two live readings:
-
Voltage (V) – Tells you how charged your battery is (usually 12.0–14.5V)
-
Current (A) – Shows how much power your device is using (e.g. 3.5A)
It’s great for monitoring phone chargers, heated grips, lights, or your overall electrical health.
🔌 The 3 Terminals — What Goes Where?
| Terminal | Label | Connect To |
|---|---|---|
| 🟡 Gold | +12V | Battery positive (or switched +12V) |
| ⚫ Middle | Output | Positive wire going to your load |
| ⚫ Right Side | – (Ground) | Battery negative or chassis ground |
🧰 Wiring It — Step by Step
-
Connect the gold terminal (+) to your battery's +12V (ideally through a fuse or ignition-switched line).
-
Connect the middle terminal (Output) to the positive wire going to the accessory you want to monitor.
-
Connect the - terminal to battery negative or a solid ground point on your frame.
- The Load Negative connects to the battery Negative Wiring

🧠 How It Works
-
Power flows from the battery into the gold terminal
-
It goes through a small internal shunt resistor that measures current
-
It comes out the middle terminal to power your load (like a USB port or LED light)
-
The right terminal connects to ground, completing the circuit and giving the meter its reference
The meter reads:
-
Voltage between the gold and ground terminals
-
Current flowing through the load via the middle terminal
🚫 Common Mistakes to Avoid
-
Don’t wire battery negative to the middle terminal — that’s for output, not ground
-
Don’t connect your load directly to the battery — it must go through the meter
-
Don’t exceed the current rating (usually 10A max) or you could damage the meter
-
Don’t skip the fuse — always protect your wiring
🛡️ Add-Ons That Help
-
✅ Inline fuse on the +12V input (5A–10A)
-
✅ Toggle switch if you wire directly to the battery (prevents slow drain)
-
✅ Crimp terminals or heat-shrink tubing for a reliable, vibration-proof setup
💡 Why It’s Worth Installing
-
Spot charging problems early
-
Monitor power draw from your gear
-
Troubleshoot parasitic battery drain
-
Know when your battery’s struggling before you're stranded
✅ In Summary
If your voltmeter/ammeter has 3 terminals and looks like the ones commonly sold for panels or motorbikes:
-
Gold = +12V IN
-
Middle = OUTPUT to your device
-
Right = Ground
The terminals are labelled. Always check terminal labels prior to wiring and seek advice if unsure. This is intended as a guide only , please seek professional advice if you're not confident or sure of how to set the meter up.
Comments
Leave a comment